Step into a peaceful, creative space where you build and paint your own glowing Japanese cherry blossom lamp. No experience needed , just curiosity and a desire to create something beautiful for your home.
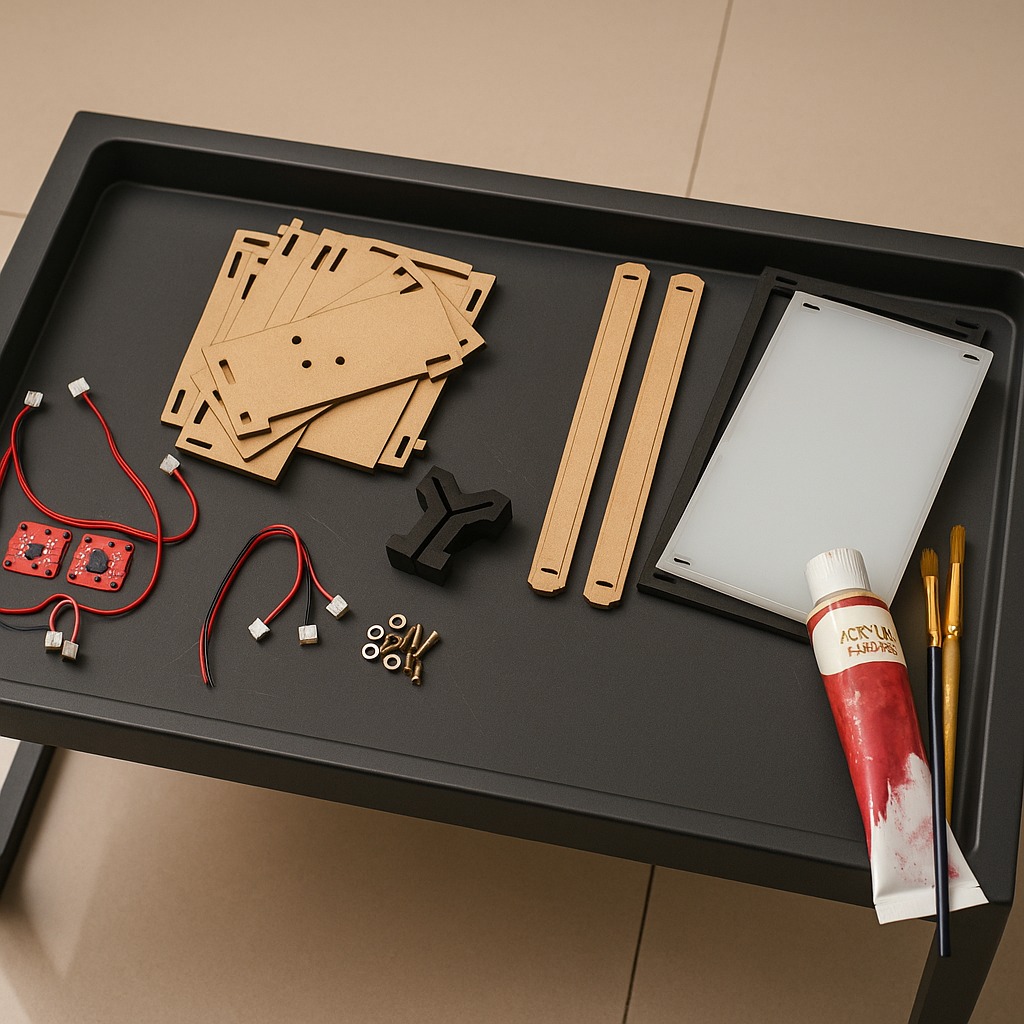
When I joined the DIY Make Your Own Japanese Cherry Blossom Lamp workshop, the vibe was instantly welcoming. Each person introduced themselves while we picked our spots and gathered our materials: circuits, engineered wood, vellum paper, paints, and brushes. It’s so cool how a simple hello can set the tone for a creative day.
The atmosphere was relaxed with comfy couches and beautiful artwork around, plus the little extras like RO water and charging ports made it feel like a cozy studio. This calming start really helped me focus and get excited about the process.
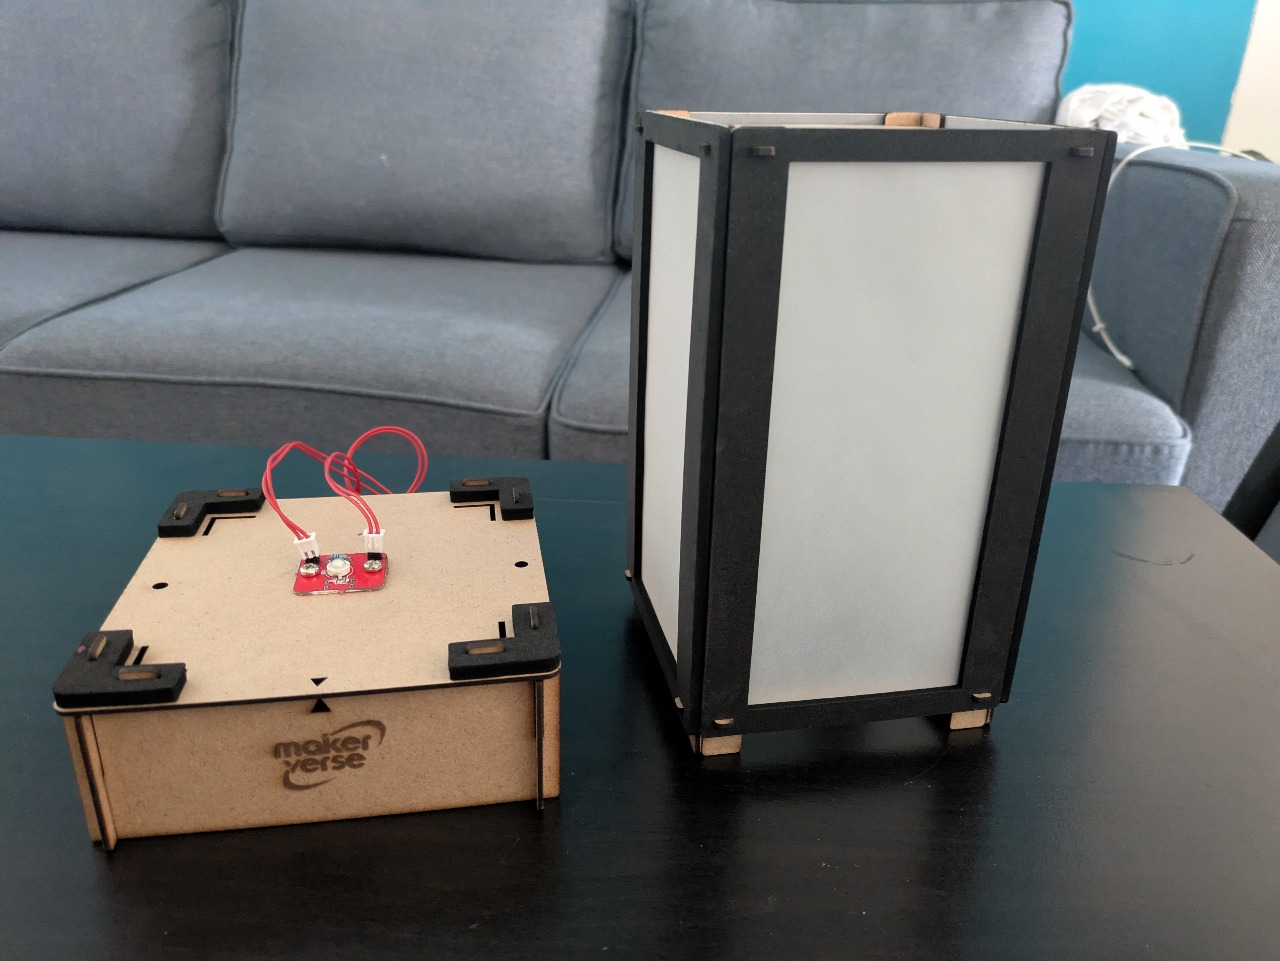
Next up, we dived into assembling the circuit and putting together the lamp base. I’ll admit, I was a bit nervous about the electronics part , but the step-by-step guidance made it super approachable. It felt like solving a fun little puzzle.
Once the circuit lit up, I felt a small burst of pride. It’s amazing how something so simple can make you feel so accomplished. The base came together nicely, ready to support the delicate cherry blossom panels we’d paint next.
If you’re wondering, the kit includes everything from wires and screws to acrylic panels, so you don’t have to bring a thing. Plus, aprons help keep paint off your clothes , a small but appreciated detail!
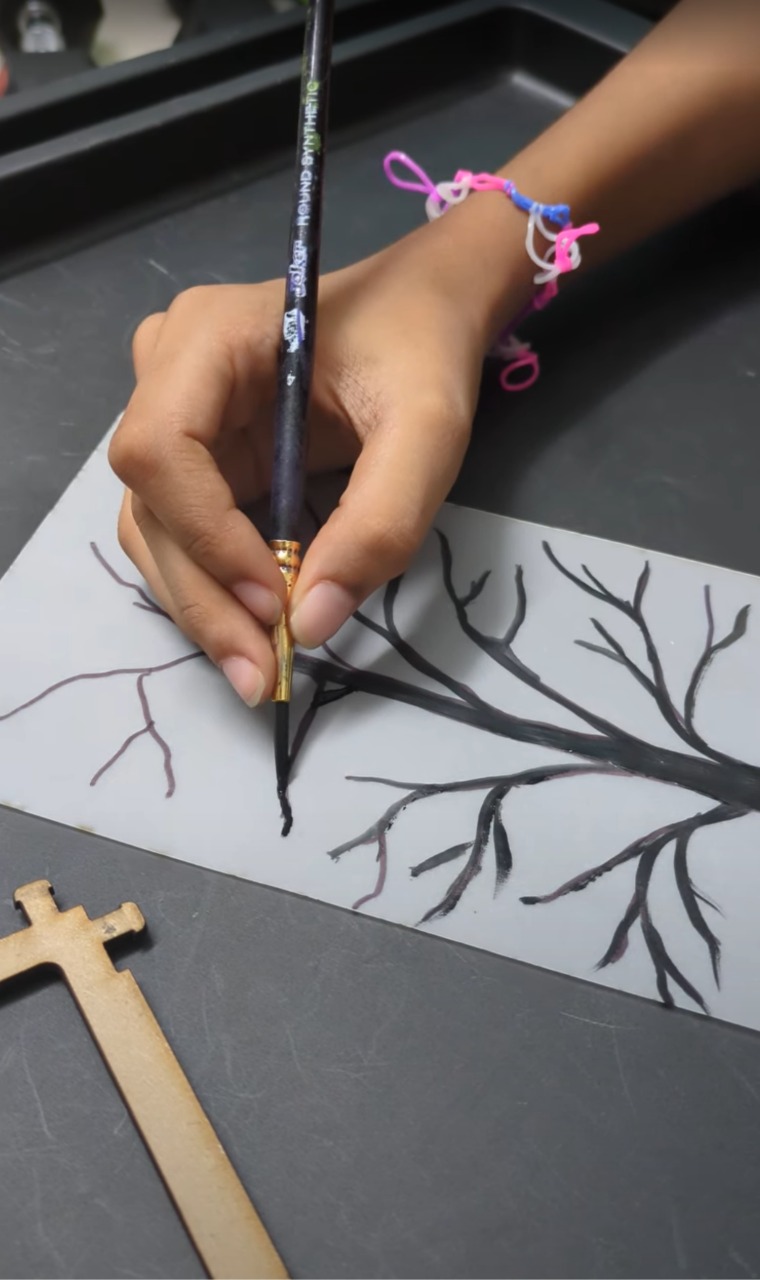
Here’s where the real fun begins. Painting delicate cherry blossom branches on the vellum paper was surprisingly calming. The guides showed us how to use brushes and even earbuds to create beautiful textures and details.
This reminds me of a time when I was just doodling absentmindedly during a long train ride , except this was way more focused and rewarding. Watching the blossoms take shape on all four sides of the lamp made me realize how creativity can be both relaxing and exciting.
Make sure to let the paint dry completely , it’s worth the wait because the colors pop so nicely once dry. Everyone’s designs were unique, and it was inspiring to see such different styles come together in one room.
If you want to try this calming, beginner-friendly experience yourself, just download the Alive app from the App Store or Google Play, search for DIY Make Your Own Japanese Cherry Blossom Lamp, check availability, and book your spot!
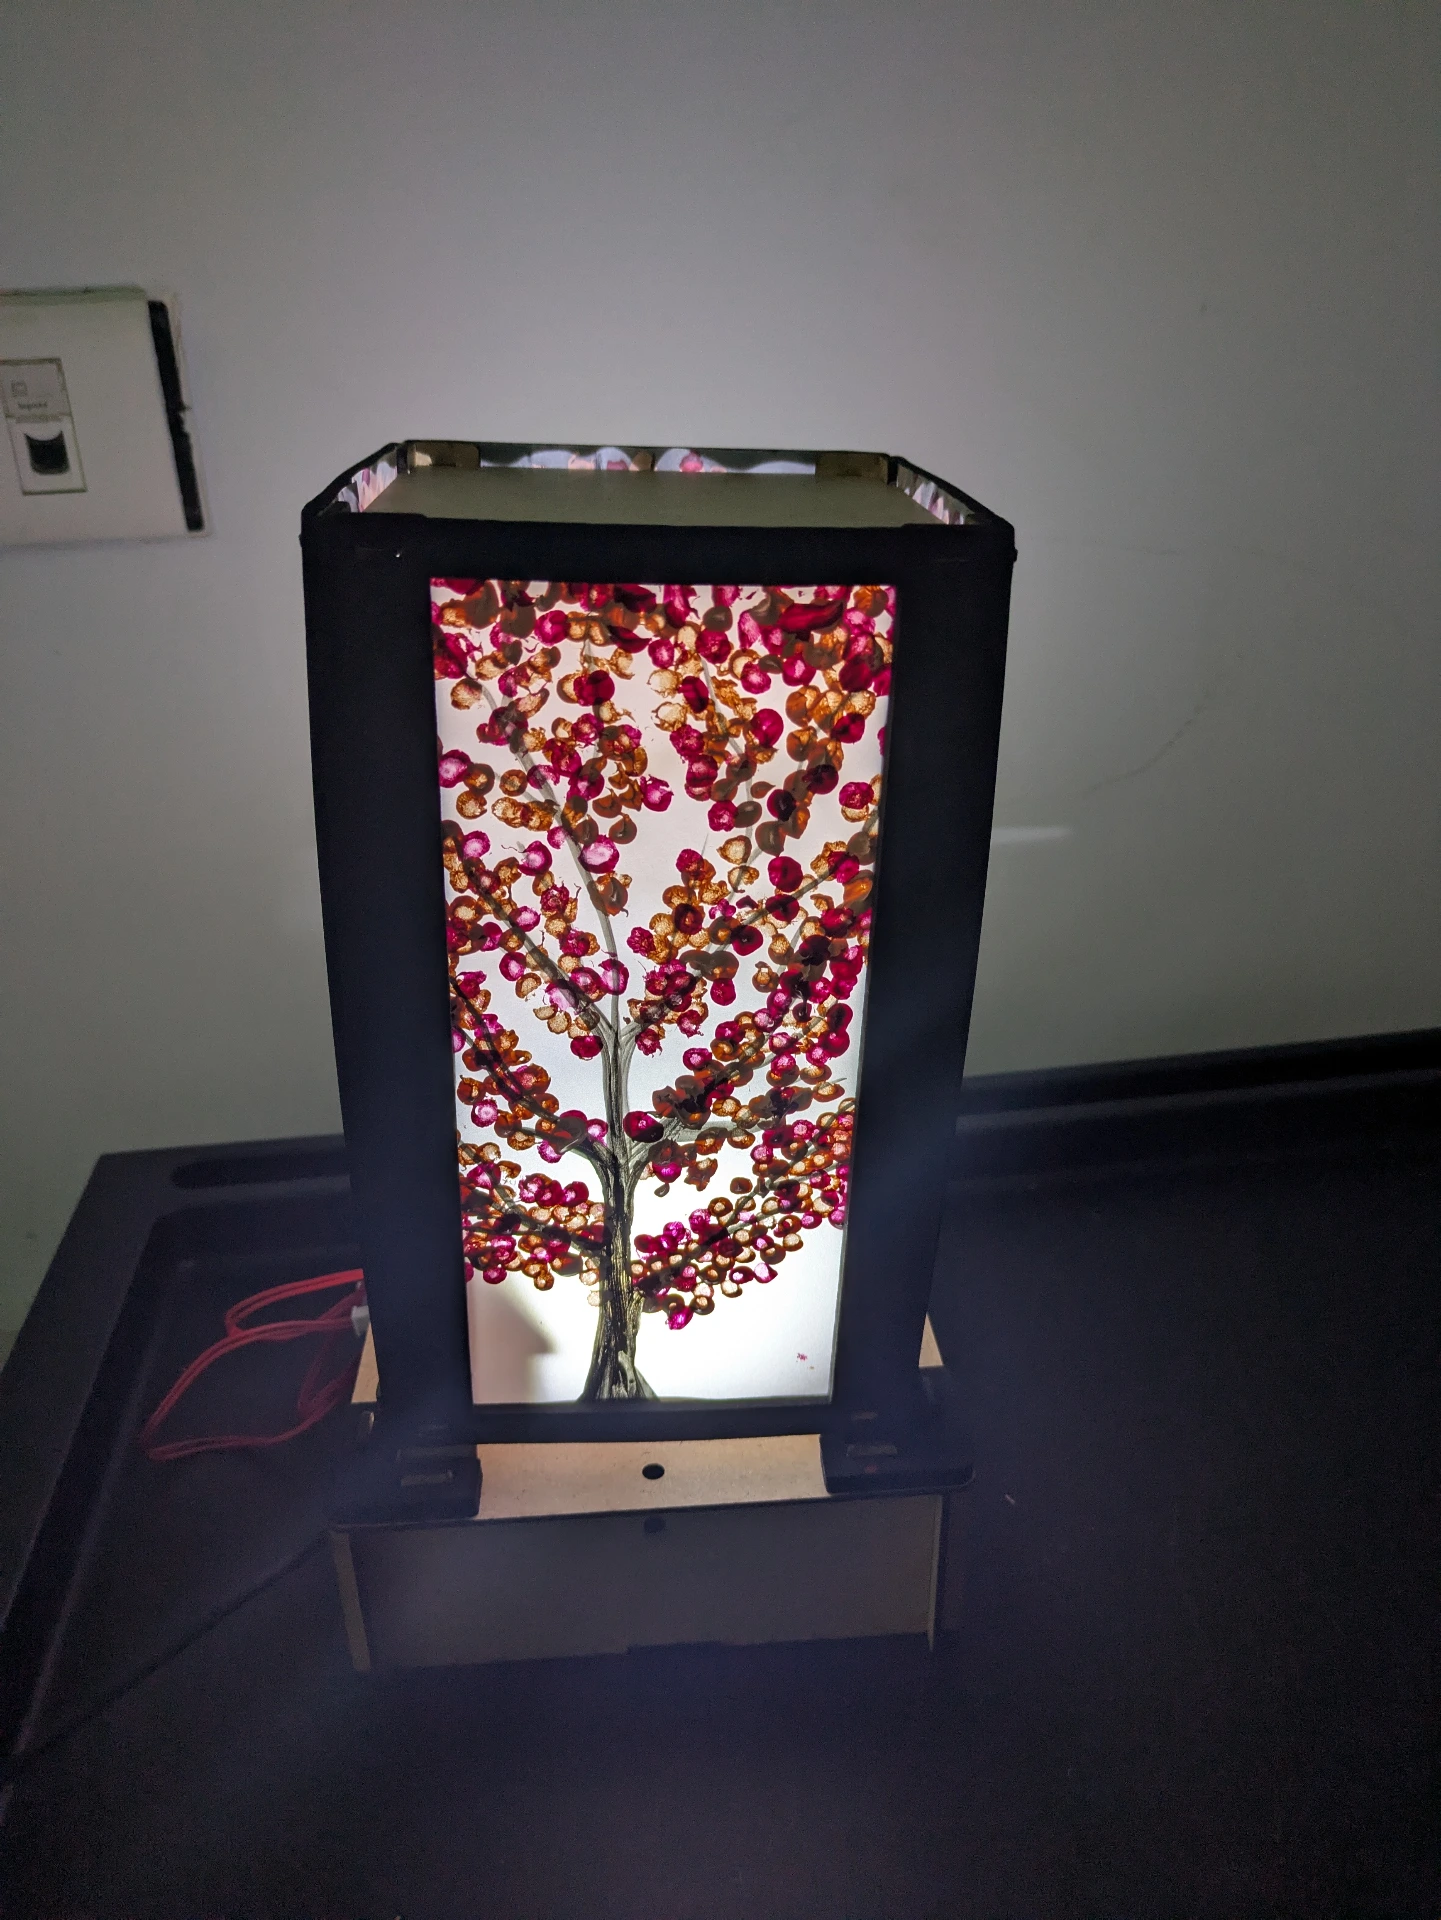
After the paint dried, we carefully assembled the lamp sides and connected everything together. Holding the finished lamp felt like holding a little piece of art that I had made with my own hands.
Plugging in the USB cable and seeing the lamp glow softly was honestly magical. It lit up the room with a warm, gentle light that reminded me of quiet spring evenings under cherry blossom trees.
One participant nearby said, “I never thought I could make something this beautiful myself!” and I totally felt the same way. This experience makes you realize creativity is for everyone, no matter your skill level.
Ready to light up your own space? Don’t forget to check out DIY Make Your Own Japanese Cherry Blossom Lamp on the Alive app!
Share your experience